/images/us.svg)
/images/logoHover.svg)
/images/flags/en.png)
/images/dot.svg)
gnuadmin
- 6 min read
- Aug 23, 2023
The world of streaming has never been more exciting, and with devices like Firestick and Fire TV, it’s become even more accessible. But to ensure a secure, unrestricted viewing experience, installing a VPN is paramount. Let’s walk through the process.
Gain access to global streaming libraries, not just what’s available in your region.
Keep your viewing habits private and avoid ISP throttling.
Watch your favorite content anytime, from anywhere, without pesky location blocks.
Before anything else, navigate to your Firestick’s home screen. Go to Settings > Device > Developer Options. From there, turn on both ADB debugging and Apps from Unknown Sources.
Only download trusted applications when Apps from Unknown Sources is enabled.
On the Firestick home screen, use the search feature. Enter the name of your preferred VPN (like “GnuVPN”).
You’ll see a list of applications. Find the VPN app you’re looking for, and select it.
Click on the Download or Get button. Your Firestick will start the installation process.
Once installed, launch the VPN app. Log in using your VPN credentials.
Select a server, connect, and you’re good to go!
If your VPN isn’t available on the Firestick’s app store, use the Downloader app. First, download and install the Downloader app from the Firestick’s store.
Open Downloader, go to the URL section, and enter the direct download URL for the VPN’s APK.
Follow on-screen instructions to download and install the VPN app.
Once installed, refer to the aforementioned steps to open, log in, and connect.
Pick a server that best matches your viewing needs. For example, to watch US content, select a US server.
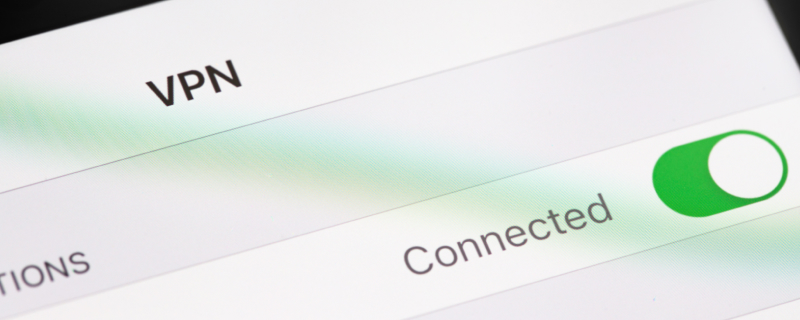
Always check your VPN connection before streaming. GnuVPN, for instance, provides a clear indication when you’re securely connected.