Welcome to our user-friendly guide on setting up and effectively using a VPN on your iPhone. This article is designed to walk you through every step of enhancing your iPhone’s privacy and security with a VPN.
The Importance of a VPN for Your iPhone
Securing Online Activities: A VPN encrypts your internet connection, protecting your data from cyber threats and maintaining your online anonymity.
Accessing Global Content: With a VPN, you can bypass geo-restrictions and enjoy a wide range of content from anywhere in the world.
Selecting the Perfect VPN for iPhone
Key Considerations in Choosing a VPN
Selecting the right VPN is crucial. Consider the following:
- Privacy Policy: Ensure the VPN has a strict no-logs policy.
- Performance: A good VPN should offer high-speed connections without compromising security.
- Ease of Use: Look for a VPN with a user-friendly iOS app.
- Reputation: Choose a VPN with positive user reviews and a strong reputation for reliability.
Installing and Configuring a VPN on iPhone
Downloading and Setting Up the VPN App
To install a VPN app on your iPhone:
- Find the App: Go to the App Store and search for your chosen VPN.
- Install the App: Tap ‘Get’ to download and then open the app.
Configuring the App
- Register or Login: Create a new account or log in.
- Customize Settings: Adjust the settings to suit your preferences, such as choosing a VPN protocol if available.
How to Use the VPN on Your iPhone
Connecting to a VPN Server
To use the VPN:
- Launch the App: Open the VPN app.
- Select a Server: Pick a server location based on your needs.
- Initiate Connection: Tap ‘Connect’ to start using the VPN.
Ensuring a Secure Connection
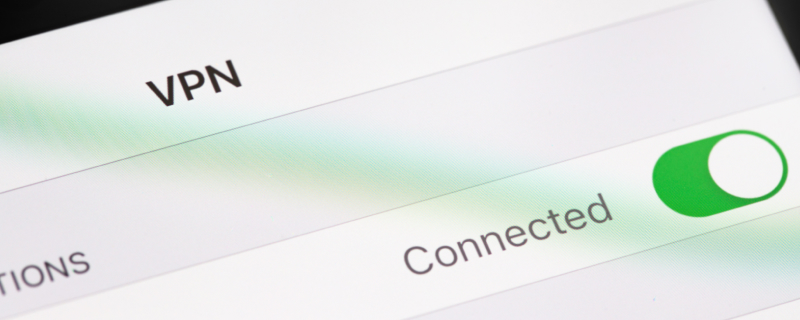
- Check Connection Status: The app should indicate that you are connected.
- Verify IP Change: Optionally, check your new IP address through a website like whatismyip.com.
Managing Your iPhone’s VPN
Customizing and Optimizing VPN Use
Adjust your VPN experience:
- Automatic Connection: Set the VPN to connect automatically on untrusted networks.
- Protocol Choices: Experiment with different protocols for the
best balance of speed and security, if your app provides this option.
Disconnecting and Reconnecting
Learn how to control your VPN connection:
- To Disconnect: Open the app and tap ‘Disconnect’ when the VPN is not needed.
- To Reconnect: Simply tap ‘Connect’ again in the app when you need the VPN.
Troubleshooting VPN Issues on iPhone
Solving Common VPN Problems
If you face any challenges:
- Restart the VPN App: Sometimes, a quick restart of the app can fix connection issues.
- Check Your Network: Make sure your internet connection is active and stable.
- Change Servers: If a particular server isn’t working, try another one.
Seeking Further Assistance
For ongoing issues:
- Consult the Help Section: Most VPN apps have a help or FAQ section for troubleshooting.
- Keep Your App Updated: Regularly update your VPN app to ensure you have the latest features and security updates.
The Advantages of Regular VPN Usage on iPhone
Making the Most of Your VPN
Regular VPN usage enhances your online experience:
- Constant Protection: Keep your data secure and your online habits private at all times.
- Safe on Public Wi-Fi: Use public Wi-Fi without worrying about security breaches.
Best Practices for VPN on iPhone
To get the most out of your VPN:
- Stay Updated: Regularly update both your VPN app and iOS.
- Be Mindful of Connectivity: Disconnect the VPN when using secure, trusted networks to conserve battery life.
Conclusion
Embracing a Secure and Unrestricted Internet Experience
Congratulations! You’re now equipped to set up and use a VPN on your iPhone. This guide has provided a straightforward approach to implementing a VPN for enhanced security and privacy on your iOS device.
In an era where digital security is paramount, a VPN is an invaluable tool for protecting your personal information and browsing freely. By following these steps, you’ve taken a significant step towards a safer and more open internet experience on your iPhone.
Enjoy your newfound online freedom and security!
/images/us.svg)
/images/logoHover.svg)
/images/flags/en.png)
/images/dot.svg)