/images/us.svg)
/images/logoHover.svg)
/images/flags/en.png)
/images/dot.svg)

gnuadmin
- 6 min read
- Aug 23, 2023
Kickstart your secure internet experience by downloading the correct OpenVPN GUI for your Windows operating system. If you’re unsure whether you have a 64-bit or 32-bit system, opt for the 64-bit version to start.
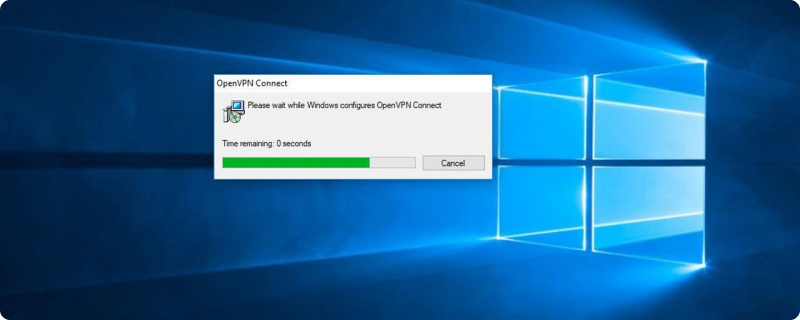
Once your OpenVPN file is downloaded, the next step is to start the installation process. Double-click the installer to begin. Follow the setup wizard’s instructions displayed on your screen to complete the installation.
Why Opt for OVPN?
OVPN is exceptional for its court-proven security measures, offering unrestricted internet browsing and streaming without ad tracking.
After completing the installation, the next imperative task is to download configuration files based on your specific requirements:
Optional Add-on Services:
Country Selection:
Choose your configuration depending on the country from this extensive list:
Regional Servers:
Further localize your server choices with regional configurations:
DNS Preferences:
Select your chosen DNS setting:
Download the configuration file corresponding to your selections.
Find the OpenVPN icon in your system tray, typically located at the bottom right of your screen. If it’s hidden, click the upward arrow to show it. Right-click on the padlock icon and choose “Import file,” then follow the steps to import the configuration file you have downloaded.
After importing the configuration, right-click the OpenVPN icon again and choose “Connect.” When asked, enter your OVPN account credentials (username and password).
Once connected, check your secure connection status through the OVPN dashboard. You are now set to enjoy secure and private internet access.
By carefully following this guide, you will successfully set up OpenVPN on your Windows device, guaranteeing a secure and unrestricted online browsing experience.