/images/us.svg)
/images/logoHover.svg)
/images/flags/en.png)
/images/dot.svg)

gnuadmin
- 6 min read
- Aug 23, 2023
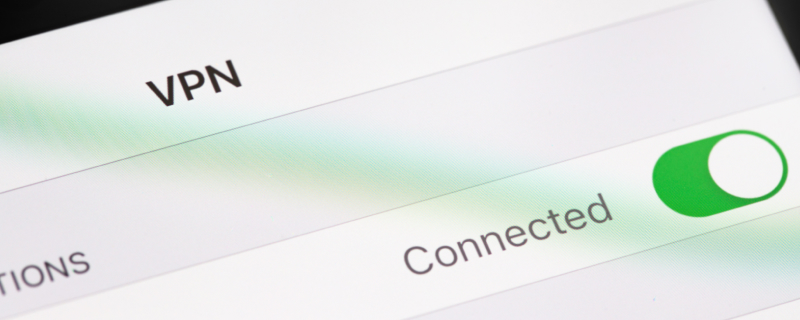
Installing a VPN on a router is an excellent way to protect all devices connected to your home network, ensuring privacy and security for your online activities. A VPN-enabled router also simplifies the process of connecting multiple devices, as you won’t need to install a VPN on each device individually. In this article, we’ll walk you through the steps to install a VPN on your router and discuss the benefits of doing so.
Before starting, it’s essential to check if your router is compatible with VPNs. Most VPN providers have a list of supported routers on their websites. You’ll also need a VPN subscription and your VPN provider’s configuration files.
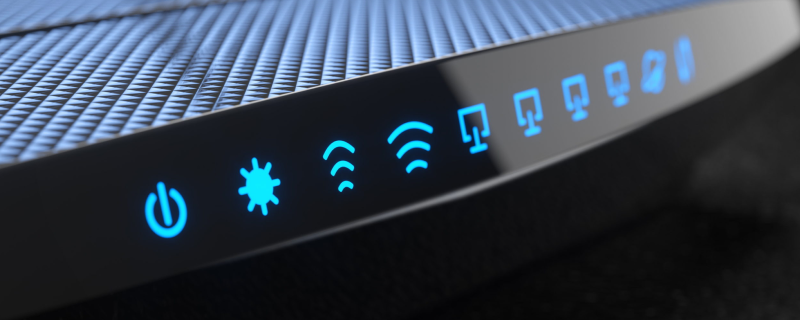
Ensure your router supports VPNs, specifically OpenVPN protocol, as it offers a balance of speed and security. If your current router isn’t compatible, consider upgrading to a router that supports VPNs or has a built-in VPN client.
Connect to your router’s network and open a web browser. Enter the router’s IP address (usually found on the bottom of the router or in the user manual) into the address bar. You’ll be prompted to enter your router’s username and password, which can also be found in the user manual or on the router itself.
Navigate to the VPN settings in your router’s admin panel. The location may vary depending on your router’s brand and firmware. Look for options like “VPN,” “VPN Client,” or “OpenVPN.”
Fill in the required fields with your VPN provider’s information. This typically includes the VPN server address, your VPN account username and password, and the OpenVPN configuration file provided by your VPN service. You may need to download this file from your VPN provider’s website.
Save your VPN settings and restart your router. Once your router reboots, it should automatically connect to the VPN server. Check your VPN provider’s website for instructions on how to verify that your VPN connection is active.
Connect your devices to your VPN-enabled router as you normally would. All devices connected to your router will now benefit from the protection and privacy of your VPN service.
Installing a VPN on your router is an effective way to secure your entire home network and simplify device management. By following the steps outlined in this guide, you can easily set up a VPN on your router and enjoy the benefits of a protected and private online experience. Always remember to choose a reputable VPN provider and keep your router firmware up to date for the best security and performance.